I’ve heard the “o” word from 3 doctors, in the last year. Let’s just say that COVID hasn’t pulled its punches with me. I think my first problem was understanding that my favorite food was buffalo wings, followed up by Beer, which may not be the best diet for those looking to stay fit. Having two daughters doesn’t help either as they are a constant reminder to take care of myself, because if I dont, then maybe I wont see them grown up and see the amazing people they will be. The final nail in my, “Alright, time to do something” coffin was when I looked at myself in the mirror. No I dont hate myself, I hate how I look, there is a small but needed difference. I love who I am, I love my wife, my family, my job. Things are going well for me. I just know I have work to do to get things to where I am more comfortable living my daily life. This has lead to a lot of unhappiness with how I track my fitness. I currently use an Apple Watch series 4(yes its old), and the battery is absolutely killing me because I’m constantly charging it(its on the charger right now). So I wanted to find a new wearable that would be better to track my fitness, and help me get where I want to go.
Current Fitness Schedules
I try to workout about 5-6 times a week, they can vary from AMRAP style workouts, running, indoor cycling, and rucking(I love rucking). Rucking, for those that are wondering, is the practice of loading a backpack with weight and going out to walk/run. This is an absolutely awesome way to workout for me because walking is seriously enjoyable with my wife, and she pushes the absolute snot out of me(shes a really fast walker). However, working out this much really drains my battery, because I use an LTE version of the Apple watch, and tracking my workouts, as well as playing music absolutely kills the batter in half a day. Now that being said, there are ways to get around this. I’ve found charging the watch 2x a day to be very effective to track my workouts, and also my sleep. However, this is not enjoyable. Before the Apple watch, I used a fitbit charge which battery lasted a week. So the dissatisfaction is leading me to try out some new fashion. So lets look at what other wearables I tried, and what I ended up doing.
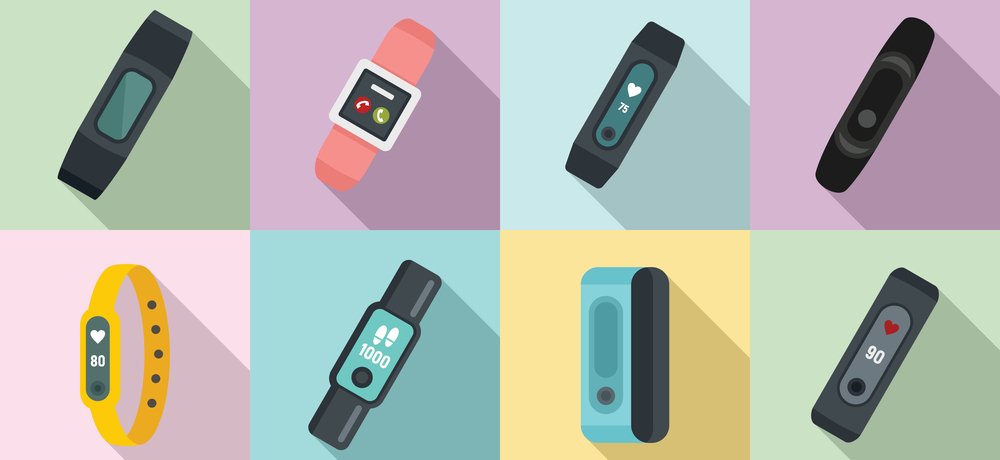
Fitbit Charge 5
I personally love fitbit mostly because it has one of the longest lasting trackers I have used, so I love the dang thing. Also the app is a fluid and enjoyable experience, dealing with each section that it tracks. Getting the fitbit charge 5 was difficult as the first one I got was a dud and rebooted every 10 seconds. Not a great look fitbit. However, the 2nd fitbit I grabbed was great and worked out of the box (Yay Amazon! ). Getting it setup was a dream as I remembered, and then getting the strap back on my wrist was awesome. The new charge 5 is great with the configurable screen and the ability to move between different apps within the tracker itself. Its still clunky and not really where I’d like it to be, but the tracker itself, and what it adds to fitbit is awesome. The charge 5 was on sale for $125 and fitbit premium which adds readiness checks, is $9.99 a month. This put fitbit in a really good spot, as I didn’t want to go full fitbit to replace the apple watch, but just wanted something extra to help track my workouts. Fitbit really did the job though, its ability to track steps, caloric burn, sleep, etc. really helped me during my trial run.
https://www.fitbit.com/global/us/products/trackers/charge5
Whoop 4.0
The other wearable I decided to try out was the Whoop. Now if you have not heard about the whoop, then I’d say your in the majority. Whoop is pretty understated in what it does, however, it focuses on 3 things. Sleep, strain, and recovery. What this means is it doesn’t really care that much about steps, or calories(it does track calories to be clear) but what it focuses on is what you need to do to get the most out of your workout. For instance, after I had unlocked recovery(it takes 4 days) then I was able to learn that I needed a 14.4 strain for the day(for instance) to meet maximum effort for the day without going overboard. This told me, that Whoop was using some deep AI/ML in their solution, and though the tracker had some pretty sweet tech, it was what the software was doing that really sold the tracker. In my opinion the best part of the whoop was the way you charged it. You take something similar to a battery pack and it connects on the tracker. I can say that it will definitely stay on the tracker as you workout as I did a couple of runs while the tracker was charging. With all this, I’ll add one more part to the whoop which is the comfort. The whoop is definitely the most comfortable tracker I’ve worn, and without a doubt the best tracker to be added to the Apple Watch. I got my Whoop on a 30 day trial at $30 per month, you can get it at a lower amount but its only available as a subscription with the 2 year being the lowest, at $480 every 2 years($20 a month).
https://www.fitbit.com/global/us/products/trackers/charge5
Conclusion
So, I stuck with my Apple Watch. Its paid off, and does what I need when I workout. If I focus solely, on tracking my workouts only, and not on readiness, or strain, or sleep, then the Apple Watch I have is fine. If money wasn’t a problem, I’d get the Whoop in a heartbeat. The Whoop is an amazing tracker and really hits the analytics that we nerds love to help us work each day to the fullest. For me, $480 every 2 years is just too much. I don’t do that even right now with the Apple Watch, and I can leave my phone behind with that(not so with the Whoop, or Fitbit). The fitbit was also a contender for sure. It really was a good deal and probably the most cost efficient way to track what I wanted to track, but unfortunately my mammoth wrists made it look like a toy, and it just looked wrong(yes petty reasons, but hey its my body, you make decisions for yours). I’m basically limping my way to the Apple Watch series 8 that I hope releases sooner rather than later, but it’ll probably September. Thanks for reading!